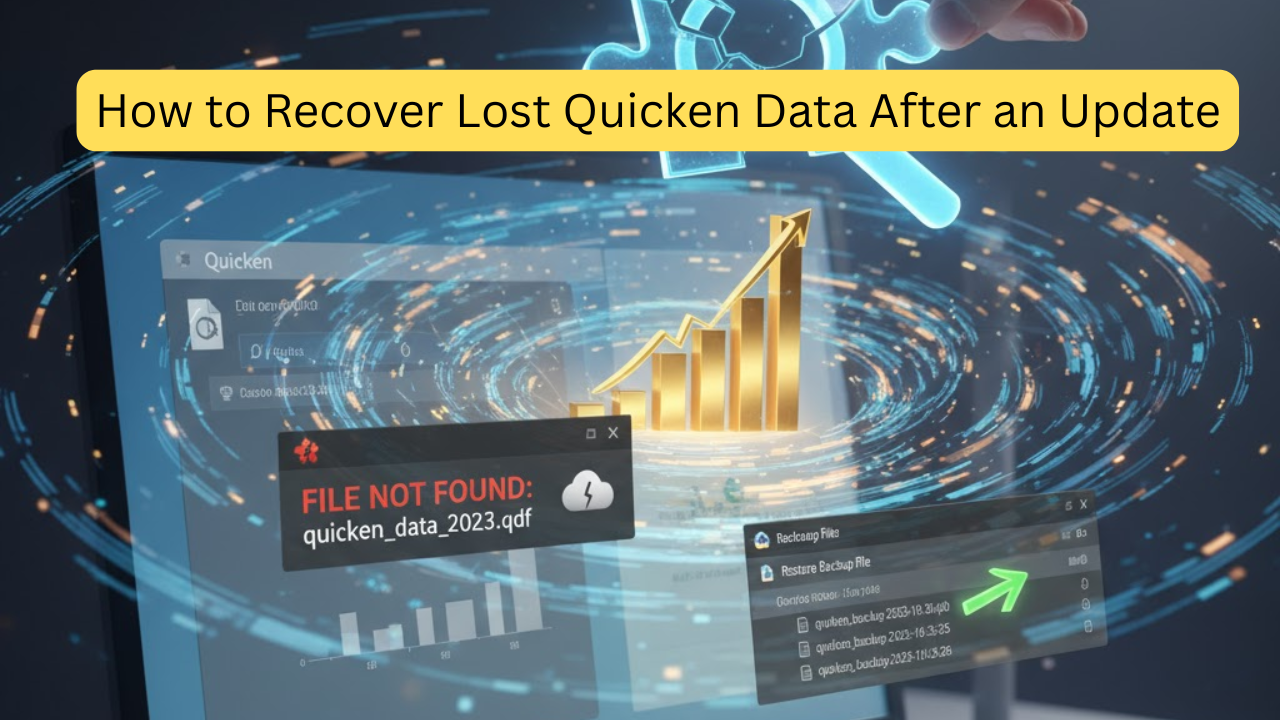
Updating Quicken is essential to keep your personal finance software secure and efficient. However, sometimes an update can lead to missing or lost Quicken data files—a frustrating issue for any user. The good news? You can recover your Quicken data with a few straightforward steps.
In this guide, we’ll walk you through how to restore your data safely and prevent future loss.
Common Reasons for Lost Quicken Data After an Update
Before diving into the recovery process, it helps to understand why data loss happens:
- Interrupted update process (system crash, power loss, etc.)
- Corrupted Quicken data file (.QDF)
- • Automatic backup not configured
- • Software conflicts or installation errors
- Files accidentally moved or deleted
Knowing the cause can help you choose the right recovery method.
Step-by-Step Guide to Recover Lost Quicken Data
Step 1: Check for Automatic Backups
- Open Quicken.
- Go to File > Backup and Restore > Restore from Backup File.
- Choose a backup with the most recent date before the update.
- Select Restore Backup and follow the prompts.
Tip: Quicken automatically saves backup files with the . QDF-Backup extension, usually in your Documents > Quicken > Backup folder.
Step 2: Search for Your Quicken Data File (.QDF)
If the automatic backup doesn’t help:
- Open File Explorer (Windows) or Finder (Mac).
- Type *.QDF in the search bar and press Enter.
- Locate the most recent .QDF file.
- Double-click to open it in Quicken.
Pro Tip: Sort the search results by “Date Modified” to find the newest version.
Step 3: Use Quicken’s Cloud Backup (If Enabled)
If you sync your data to the Quicken Cloud, you can recover it easily:
- Launch Quicken and sign in.
- Navigate to the Mobile & Web tab > Cloud Sync.
- Restore from your latest cloud backup.
This option is especially helpful if you use Quicken on multiple devices.
Step 4: Restore from Manual or External Backups
If you manually back up your Quicken data:
- Locate your external drive or cloud storage (Google Drive, Dropbox, etc.).
- Find your .QDF-Backup or .QDF file.
- Copy it to your computer and open it with Quicken.
Always store at least one backup off your main device to protect against data loss.
Step 5: Use File Recovery Software (Last Resort)
If none of the above methods work, try a reliable data recovery tool such as
- Recuva (Windows)
- Disk Drill (Mac)
- EaseUS Data Recovery Wizard
Scan your hard drive for deleted files. QDF or . QDF-Backup files and restore them.
How to Prevent Quicken Data Loss in the Future
Here are a few tips to keep your financial data safe:
- • Schedule automatic backups in Quicken weekly.
- Use cloud storage (Dropbox, OneDrive) for redundancy.
- Keep Quicken updated—but back up before every update.
- Use antivirus software to avoid corruption or malware issues.
Conclusion
Losing your Quicken data after an update can be stressful, but recovery is usually possible. Whether it’s restoring from a backup, using Quicken Cloud, or running file recovery software, you can get your financial records back in no time.